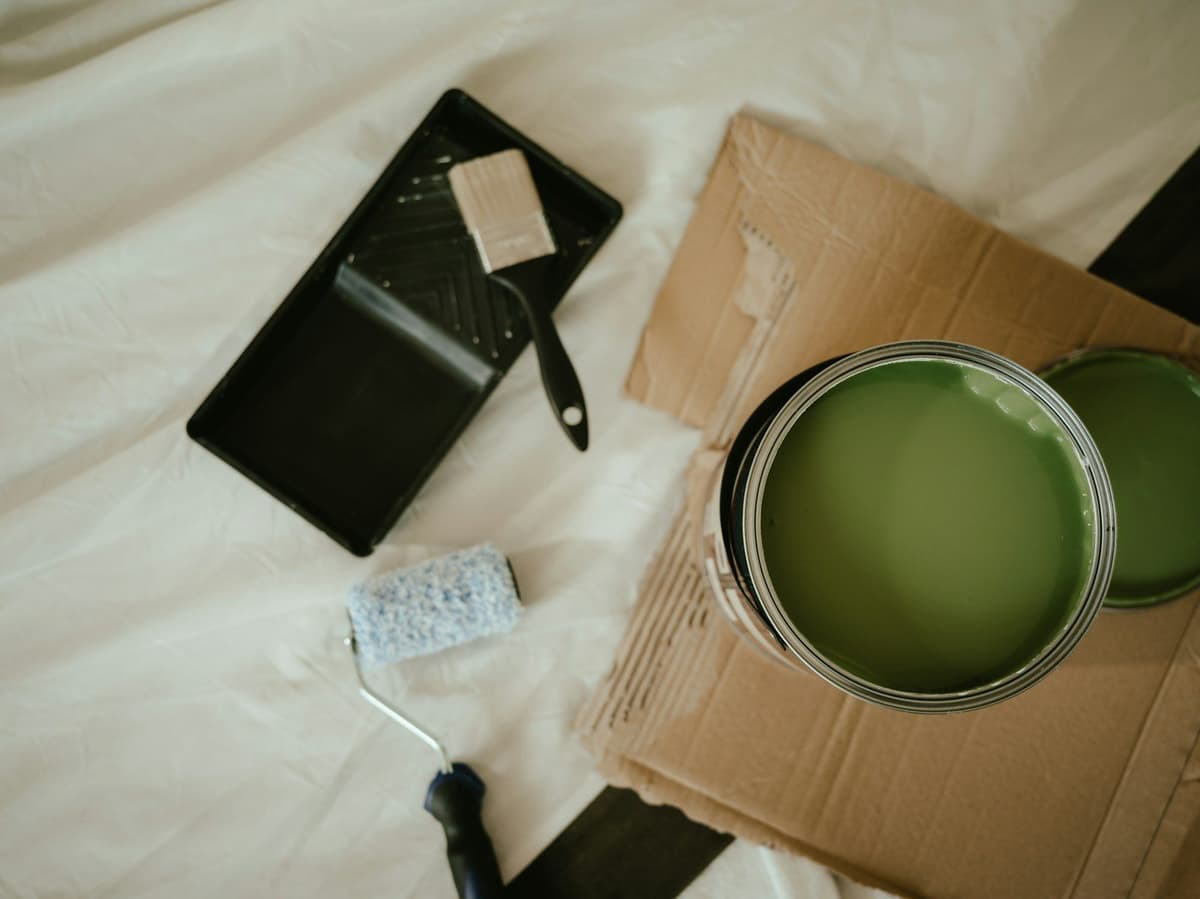
Painting a wall seems simple in theory, but the difference between an amateur result and a professional finish often comes down to one detail: light sanding between coats. This extra step is not always necessary, but it can transform an acceptable result into a perfectly smooth surface, especially in well-lit rooms of an apartment in Paris or Lyon.
Why sand between paint coats
Intermediate sanding corrects micro-defects that appear during drying. Skipping the primer is mistake number 1 that causes peeling and colour inconsistencies1, but even with good preparation, small imperfections emerge after the first coat: dust trapped in the paint, slight roller marks, or tiny bubbles.
Surface preparation accounts for nearly 80 percent of the final result2, and intermediate sanding extends this logic right through to the finish. A pass with 180 or 220 grit paper removes these roughness spots without damaging the coat itself. The result? A perfectly flat surface that reflects light uniformly, with no visible shadows or relief.
This step is particularly important on ceilings and walls exposed to raking light, such as in rooms with large south or west-facing windows. In Haussmann apartments with mouldings and high ceilings, light reveals the slightest flaw3, and sanding becomes essential.
When to sand between coats
Sanding is not automatic. Three situations really call for it:
On demanding matte and satin finishes
Matte paints absorb light and hide imperfections better, but they also reveal texture irregularities. Light sanding after the first coat ensures that the second coat adheres to a uniform surface. Much of the price difference comes from preparation time, which can represent 60 percent of total cost, and intermediate sanding is part of that rigour.
After a primer on new plasterboard or old plaster
On a new plasterboard wall, surfaces are rarely perfectly flat: original plaster, old repairs, humidity marks. The primer often brings up small paper fibres or slight bumps. Gentle sanding before the first topcoat prevents these defects from showing through.
When the first coat shows roller marks
Despite careful application, passage lines can remain. If you notice lines or slightly thicker areas after complete drying (4 to 6 hours minimum), quick sanding smooths everything out before the second pass.
How to sand between coats without damaging the work
Technique matters as much as materials. Here is the method:
Wait for complete drying
Never sand paint that is still wet or fresh. A minimum of 4 hours drying time (24 hours if humid) is the rule. In practice, wait at least 6 hours for acrylic paint in dry conditions, and 12 to 24 hours in humid periods or poorly ventilated rooms (bathroom, renovated basement).
Use appropriate grit
For intermediate sanding, 180 to 220 grit abrasive paper is sufficient. Finer (240 or 320 grit), you risk not removing anything; coarser (120 grit), you risk gouging the paint. Attach the paper to a sanding block to distribute pressure evenly and avoid creating dips.
Sand gently, with light circular motions
No need to press hard. The goal is not to strip, but to smooth micro-reliefs. Pass over the entire surface keeping a consistent motion, without concentrating on any one spot. After sanding, dust thoroughly with a slightly damp microfibre cloth or a vacuum equipped with a soft brush.
Check under raking light
Before applying the second coat, inspect the wall in oblique light (torch or natural light at end of day). Shiny spots or small reliefs should have disappeared. If not, apply light sanding again and dust once more.
Special cases and pitfalls to avoid
Some situations require an adjusted approach:
Oil-based or lacquer paint
Solvent-based paints dry more slowly and form a harder film. Intermediate sanding is often recommended between primer and first topcoat, especially on woodwork (doors, skirting boards). Use 220 grit minimum to avoid scratching the film.
Effect paints (textured, metallic, sandstone)
If you are applying effect finishes like slate, sandstone, stucco, chalk, tadelakt, sparkle, aged plaster, never sand between coats: you would destroy the desired texture. Sanding applies only to standard smooth paints.
Two-tone paint (dado, colour band)
If you are painting a contrasting colour band at mid-height or a dado, sand each area after its first coat, before applying masking tape for the second colour. This ensures a crisp line and an invisible join.
Prepare the second coat after sanding
Once sanding is complete and the surface is dust-free, you are ready for the final coat. Stir the paint thoroughly (especially if the tin has been open for several hours), and apply in crossing strokes for uniform coverage. Professional rollers distribute paint evenly without leaving marks. We choose fibre length based on surface type and desired texture, but a 10 mm microfibre roller suits most smooth walls.
If you use our platform to find a painter, know that all professionals presented are registered with a valid SIRET and can explain their preparation method in detail. The photos and videos you send allow them to estimate the time needed for each step, including intermediate sanding if the wall condition requires it.
Sanding between coats is not a pointless chore: it is your assurance of a durable and attractive finish, especially in bright apartments in Paris, Lyon, Marseille or Toulouse. A few extra minutes at this stage will spare you costly touch-ups and long-term regrets.

Ready to paint?
Get free quotes from verified local painters in minutes. No commitment.
Sources
External sources open in a new tab.
- Peindre Mur Intérieur Paris 17 2026 | Conseils Pro | RNM Paris 17renovation-appartement-paris-17.fr
- Peinture haut de gamme : préparation et finitionsaureliarenovation.fr
- Moulures et hauteur sous plafond : adapter les couleurs de peinture au style haussmannienmyfixio.fr