Applying paint may seem straightforward, but achieving a smooth result without streaks or touch-ups requires following precise steps and using proper techniques. In a Paris apartment, a Lyon living room or a Toulouse bedroom, preparation accounts for nearly 80% of the final result1, but the application itself transforms this invisible work into an impeccable surface.
Choosing the right tools for each area
Tool selection directly determines finish quality and work speed.
Roller for large surfaces
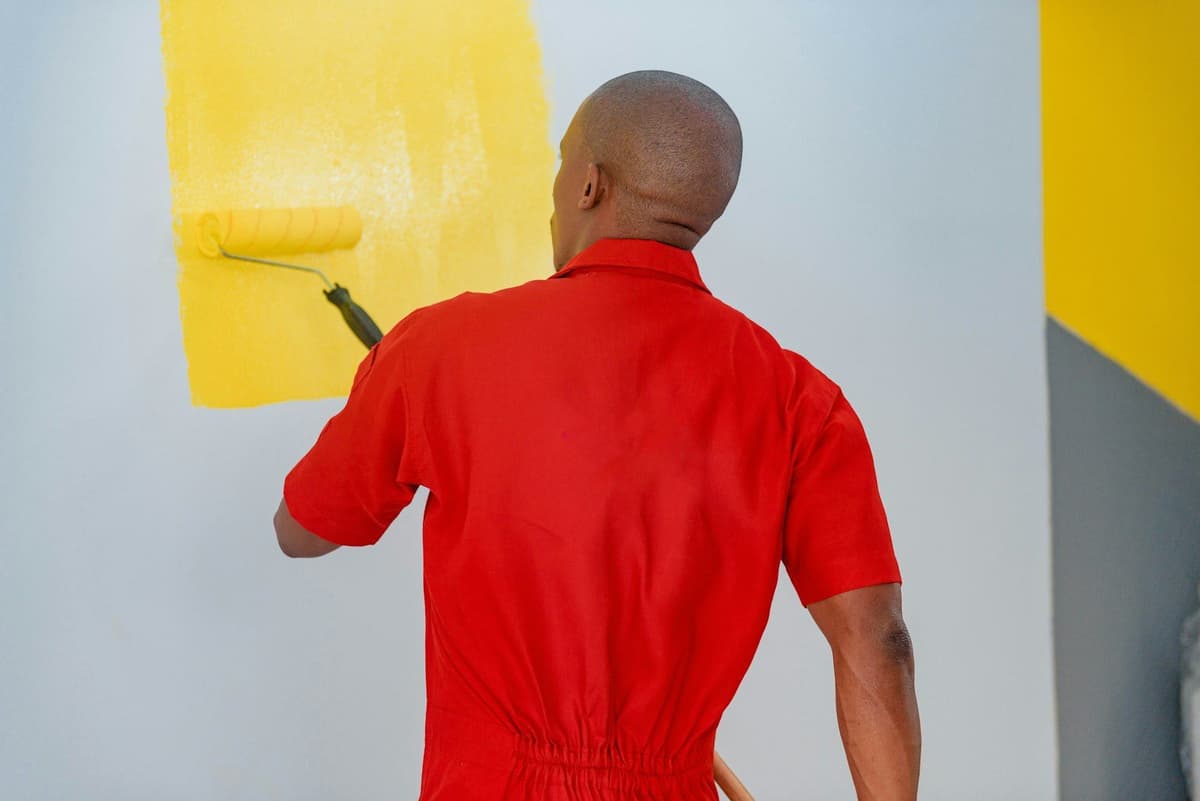
Professional rollers distribute paint uniformly without leaving streaks, and their pile length is chosen based on surface type and desired texture2. For a smooth wall in good condition, a short-pile roller (6 to 10 mm) is sufficient. If the surface has slight irregularities, a medium-pile roller (10 to 14 mm) will better hide flaws. Use a telescopic extension pole: it reduces fatigue, speeds up work and ensures even application across the full wall height.
Brush for corners and edges
Corners and edges require brush work for clean finishes, a step called cutting in, which demands a steady hand and considerable experience. Use a flat cutting-in brush of 30 to 50 mm to paint precisely along baseboards, ceiling, door frames and light switches. This preliminary step then allows the roller to pass without overrunning.
Spray gun for major projects
A paint sprayer is best suited for large surfaces or full renovation projects. It speeds up application but requires careful protection of floors, trim and adjacent areas. In an occupied apartment, a roller and brush combination remains the most practical choice.
Respect the application order
The sequence in which you paint determines joint quality and work efficiency.
Always start with the ceiling
The application order, ceilings then walls then woodwork, optimizes efficiency and quality3. Painting the ceiling first prevents drips onto a freshly finished wall. Begin by clearing corners with a brush, then apply the roller in parallel strokes, slightly overlapping passes to avoid demarcation lines.
Then the walls
Once the ceiling is dry, paint the walls following the same principle: cut in corners and edges with a brush, then apply with a roller. Work in sections of roughly 1 m² to maintain a wet edge and avoid visible touch-ups.
Finish with woodwork
Baseboards, doors, windows and radiators are painted last. Use a flat or round brush depending on the surface profile, and protect adjacent walls with masking tape if needed.
Master roller technique
Your technique matters as much as the tool itself.
The W method
The W technique involves applying paint by forming a W on the wall, then smoothing evenly. Load the roller without excess, apply paint by drawing a large W over roughly 1 m², then smooth with regular vertical passes from top to bottom, without pressing too hard. This method distributes paint uniformly and limits buildup.
Work in sections
Never let a section dry before moving to the next: this creates a visible demarcation line. Always advance by slightly overlapping the edge of the previous area while it's still wet.
Cross your strokes
After the first coat dries, apply the second by crossing the direction: if the first was vertical, make the second diagonal or horizontal. This ensures uniform coverage and limits areas with lower opacity.
Respect drying times
Patience is a key success factor.
Between primer and topcoat
The primer must dry completely before applying the first topcoat. Drying time varies from 4 to 6 hours between each pass, but can reach 24 hours if the room is damp or poorly ventilated. Always check that the surface is touch-dry before continuing.
Between two topcoats
Observe the same interval between the first and second paint coat. Applying too soon risks lifting the lower layer and creating irregularities. If you spot minor imperfections after the first coat, light sanding with 180-grit paper is enough before the second pass.
After the final coat
Allow at least 24 hours drying before moving furniture back or removing protection. Paint that's dry to the touch hasn't yet hardened in depth: handling the surface too early may leave marks.
Avoid common application mistakes
A few simple practices prevent the most frequent flaws.
| Mistake | Result | Solution |
|---|---|---|
| Overloading the roller | Drips, buildup | Wring out excess on the grid before applying |
| Pressing too hard | Visible roller marks | Let the tool glide without force |
| Neglecting cut-in work | Overruns on baseboards and ceiling | Paint corners with a brush before rolling |
| Skipping the second coat | Uneven coverage, base showing through | Always plan two topcoats |
| Painting on damp surface | Blistering, peeling | Ensure surface and primer are dry |
Never skip the primer
Omitting primer is the number one mistake causing peeling and uneven colour. Even on an already painted wall, primer evens absorption, improves adhesion and reduces topcoat consumption.
Match paint to the room
For living room or bedroom walls, choose a soft matte finish that hides imperfections; for kitchens and bathrooms, use a satin or semi-gloss finish resistant to moisture. The finish choice affects visual appeal and maintenance ease.
Check product compatibility
Always use a primer and topcoat of the same type (acrylic on acrylic, oil-based on oil-based) to ensure adhesion. If repainting old oil-based coating with acrylic, first apply a specific adhesion primer.
Plan your budget and quantities
Accurate estimates reduce extra trips and unnecessary costs.
Calculate actual surface area
For a 60 m² apartment by floor area, allow roughly 200 m² of paintable surface (walls and ceilings). Measure ceiling height and room perimeter, then multiply. Subtract openings (doors, windows) to refine your calculation.
Estimate paint quantities
To estimate litres of paint needed, know the coverage rate per m² per litre shown on the technical sheet; average coverage is 10 m² per litre. For 200 m² and two coats, allow about 40 litres of topcoat, plus 20 litres of primer.
Compare prices per m²
If you hire a professional, interior painting costs between 25 and 45 € per m² including application, covering surface preparation, 2 paint coats and protection of floors and trim. Price differences reflect wall condition, ceiling height and project complexity (mouldings, many corners, damaged surfaces).
Adjust for housing type
Each configuration has its own challenges.
Haussmann-style apartment
Ceiling heights of 3 to 4 metres, mouldings and ceiling roses require more time and precision. Carefully protect ornaments with fine masking tape and work from stable scaffolding rather than a ladder to ensure safety.
Modern home
Drywall is usually smooth and well-prepared. Primer remains essential to block plaster porosity and even absorption, but application is faster and the final result often flawless from the second coat.
Renovating an older building in Paris, Lyon or Marseille
In older buildings, walls often show irregularities, past moisture marks or patched plaster. Depending on surface condition, you may need to strip old coating, smooth irregularities, sand, wash or apply suitable filler. Once these flaws are corrected, application follows the same rules, but prep time weighs more heavily on the schedule.
Frequently Asked Questions
Two topcoats are standard after primer. If moving from a dark colour to a light shade, a third coat may be needed to fully hide the base. Always check opacity after the second coat under natural light.
This is only possible if the old paint is matte, in good condition, clean and degreased. Over satin, gloss or peeling paint, primer remains essential for ensuring adhesion and preventing future peeling.
Use a quality roller suited to your paint type, don't overload it and cross strokes between the first and second coat. Always work in sections while maintaining a wet edge and respect drying times between coats.
The recommended temperature range is 15°C to 25°C. Below this, paint dries poorly and may blister. Above it, it dries too fast, complicating application and encouraging lap marks. Ventilate moderately to clear fumes without creating cold draughts.
This isn't usually necessary if you respect drying times and the first coat is smooth. However, if you spot minor imperfections (trapped dust, local buildup), light sanding with 180 or 220-grit paper improves the final result. For more information, see our article on <citation href="https://myfixio.fr/fr/blog/poncer-entre-couches-peinture-quand-pourquoi-faire" title="Poncer entre les couches de peinture : quand et pourquoi le faire">sanding between coats</citation>.
Ready to paint?
Get free quotes from verified local painters in minutes. No commitment.
Sources
External sources open in a new tab.
- Peinture haut de gamme : préparation et finitionsaureliarenovation.fr
- Application de peinture, les techniques professionnelles expliquéespeinture-finitions.fr
- Rénovation Peinture Appartement : Guide Complet 2024valentietfils.fr