Repainting an interior in 2026 is not just about selecting a nice shade from a color chart. Once the can is open, it is the application technique that determines the final result: uniform finish, no marks, and durability over time. The final result depends as much on the finish and surface preparation as on the color chosen1. Between the plaster walls of a Haussmann apartment in Paris and those of a renovated home in Lyon or Toulouse, the techniques may vary, but the principles remain the same. This guide brings together practical application techniques, common mistakes, and professional tips for achieving durable, professional-quality interior paint.
Choosing the right tool based on surface and finish
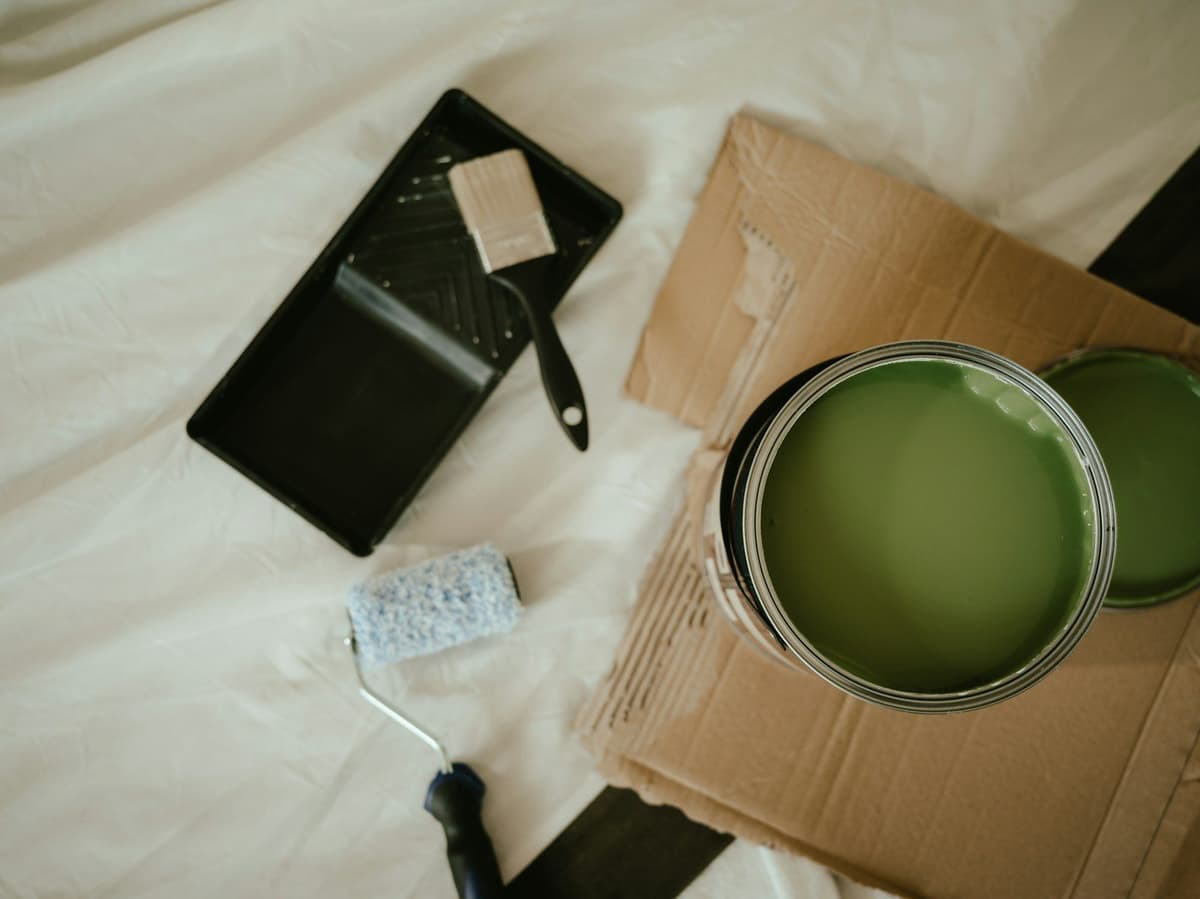
The choice of materials directly affects work quality. A suitable roller distributes paint uniformly and avoids marks or thick patches. For smooth plaster or drywall surfaces, a short-pile roller (6 to 12 mm) works perfectly: it leaves a smooth surface without texture relief. On rougher or slightly granular surfaces, a medium-pile roller (12 to 18 mm) covers irregularities well without leaving unpainted areas.
The angled brush, flat and of medium width, is used to paint around angles, door frames, and baseboards before using the roller. This preliminary step, called edge-cutting or angle painting, ensures a clean result without overflow. In Haussmann apartments in Paris or older homes in Bordeaux and Nantes, where moldings and cornices are common, preparation accounts for 80 percent of the work, and painting over a poorly prepared surface is like wasting good paint2. The brush also allows for clean work around these delicate elements without soiling them.
A round or angled paintbrush rounds out the equipment for very tight areas: around radiators, behind pipes, hard-to-reach corners. Finally, a paint tray with grid makes dosing easier: the roller picks up the right amount of paint, not too much or too little, and drips are prevented.
Applying paint in the right order and with the right technique
The order of application structures the project and limits corrections. Always start with the ceiling, then move down to the walls, and finish with woodwork and baseboards3. This sequence avoids soiling an already-painted surface and guarantees a clean joint between zones.
For the ceiling, the standard technique involves working in parallel bands about one meter wide, slightly overlapping passes to avoid visible seams. Paint always from the light source (window) toward the back of the room, which lets you immediately spot poorly covered areas or marks. The roller should be well-loaded but not soaking, and apply paint without pressing too hard to avoid splatters.
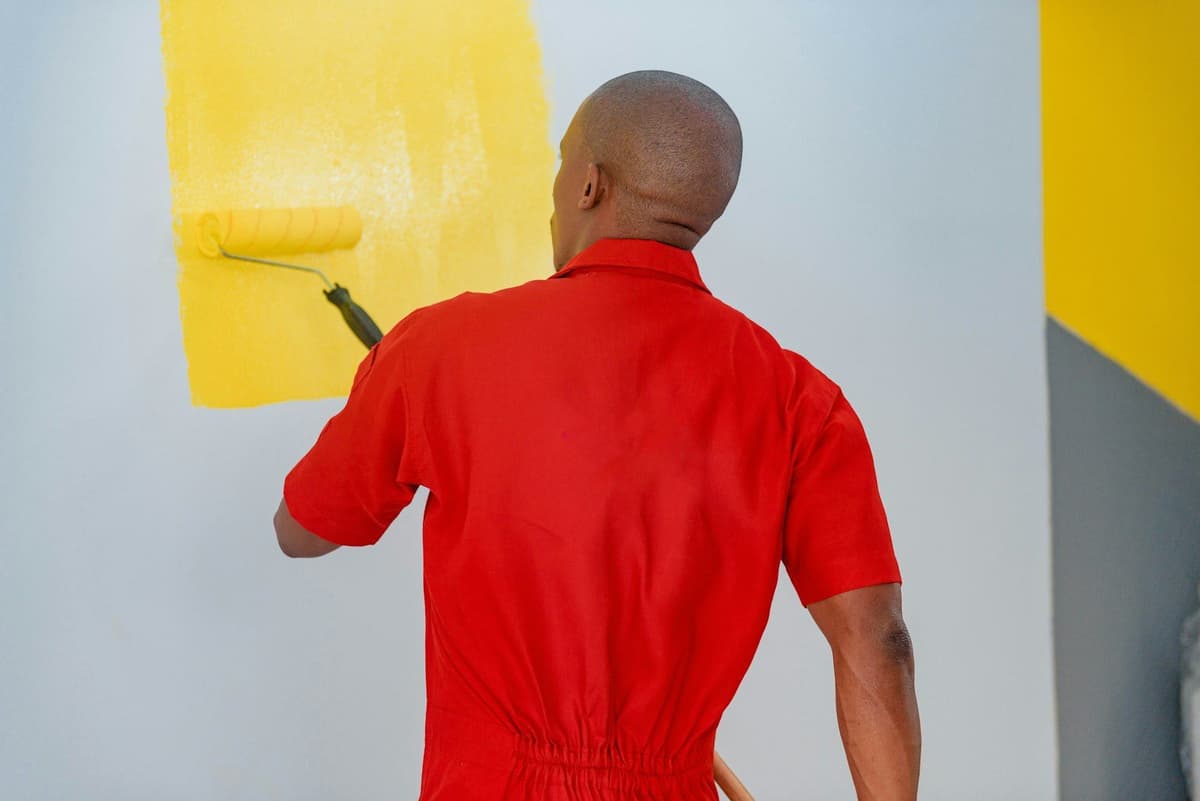
On walls, the logic is the same: start with angles and edges using the brush, then fill the surface with the roller, working in zones of about one square meter. The technique involves applying paint in vertical passes, then crossing horizontally to spread it evenly, and finally smoothing vertically without reloading the roller. This movement, called cross-rolling, creates uniform thickness and eliminates brush marks. Advance methodically without letting edges dry between zones to avoid visible patches.
In older apartments where walls sometimes have slight irregularities, the second coat compensates for any poor coverage from the first. It is essential to respect the drying time shown on the can (usually between 4 and 12 hours depending on the paint) before applying the second coat. Insufficient drying causes peeling or discoloration.
Adapting the technique based on finish and room use
All paints are not applied the same way. In 2026, interior paint favors natural tones, matte finishes, and controlled accents. Matte finishes, very popular this year for their elegant, enveloping appearance, require careful application: they forgive no roller marks or thick patches, as raking light reveals the slightest flaw. Use a quality roller and regular passes, without going over the same spot multiple times.
Satin or semi-gloss finishes, recommended for kitchens, bathrooms, and hallways because of their resistance to impacts and humidity, tolerate minor application irregularities better. They clean more easily and withstand repeated rubbing. In a building entrance in Marseille or Lille, or in a frequently-used apartment hallway, satin finish extends the paint's lifespan.
Textured effect paints, like concrete or clay renders, require a specific technique: often applied with a float or putty knife, they create intentional texture and are not applied with a standard roller. These products require particular skill and work best on accent walls in a living room or bedroom, never in areas exposed to water spray.
Anticipating common pitfalls and application conditions
Several mistakes regularly compromise results, even with good paint. The first is failing to stir the can before use: pigments settle at the bottom during storage, and applying paint without stirring first produces uneven color. The paint must be stirred vigorously for at least two minutes with a mixer or stick, then checked for evenness.
Room temperature and humidity also play a decisive role. A room that is too cold (below 10 degrees Celsius) or too humid (above 80 percent relative humidity) slows drying and can cause drips or poor adhesion. In winter, in poorly heated homes in Strasbourg or Rennes, it is better to wait a few days or slightly warm the room before painting. Conversely, excessive heat (above 25 degrees Celsius) accelerates drying and makes edge work without patches difficult.
Ventilation should be moderate: a slightly open window is enough to clear fumes, but strong air currents cause uneven drying and marks. Finally, good lighting during application helps spot forgotten areas or roller marks immediately. A work lamp aimed at the wall being painted allows real-time work verification.
Checking and protecting the result once paint is dry
Once both coats are applied and dry, a visual inspection is necessary. Inspect walls under different light angles (natural and artificial light) to detect any irregularities: roller marks, less opaque areas, subtle drips. If needed, localized touch-ups with a fine brush correct these minor flaws, taking care not to overload the area.
Paint reaches final hardness after several days, even two weeks depending on the formula. During this hardening period, avoid rubbing walls or hanging heavy frames. In humid rooms like a bathroom in Nice or Toulouse, wait for this period before reinstalling shelves or hooks.
Finally, keeping a little leftover paint in a sealed container allows for later touch-ups without color variation. Simply note the room and application date on the container. This simple step avoids searching for the color chart months later, when the exact reference is no longer available or has slightly changed between production batches.
Applying interior paint with method transforms a refresh project into a durable, professional result. By combining the right tool, the right technique, and right timing, every room regains an impeccable appearance without needing costly corrections a few months later.
Ready to paint?
Get free quotes from verified local painters in minutes. No commitment.
Sources
External sources open in a new tab.
- 🎨 Peinture Intérieure 2026 : Top 50 Couleurs & Astuces Pratiques 🌟maison-et-reflet.fr
- Quelle peinture pour un haussmannien à Paris ? Guide 2026 | E2Pe2p-peinture-paris.fr
- Préparer un mur avant peinture : les étapes pour un rendu parfaitmyfixio.fr